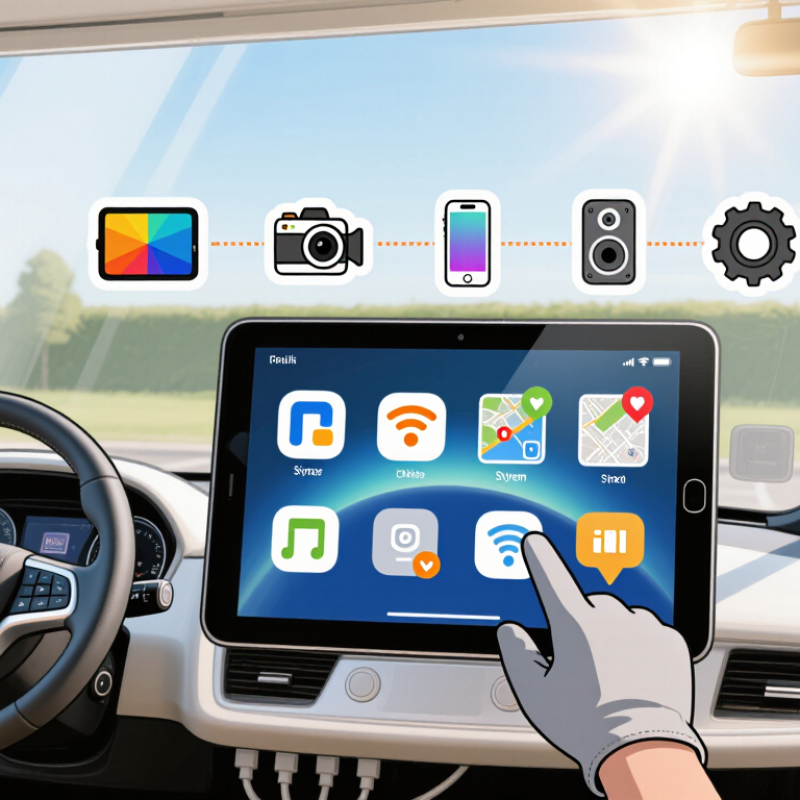
Buying a Golf Cart Touchscreen Dashboard is about more than adding a bright display. It should make everyday driving clearer, safer, and less distracting. Before comparing models, consider where the screen will sit, how sunlight affects visibility, and whether its buttons remain easy to use with gloves. Small details matter. A display that looks sharp in a showroom may be difficult to read beneath a sunny windshield.
This guide offers ten practical tips for buyers, from checking screen size and brightness to reviewing navigation, audio, camera support, and phone connectivity. Ask how the unit handles software updates and whether it works with your cart’s existing wiring. Check the installation instructions, too. A tidy dashboard should not mean tangled cables behind the console. Specifications help, but they do not replace testing the interface in real conditions.
A useful design principle from Don Norman, a leading expert in human-centered design, is: “Good design is actually a lot harder to notice than poor design.” His expertise is in design, not golf carts, but the principle fits: controls should feel obvious, and useful information should be easy to find. Treat that as a starting point, not proof that any particular product is right for your cart. Compare the features against your routes, habits, and budget. And be honest about what you will actually use. A screen can do plenty; your dashboard does not need to do everything.
A touchscreen can look compatible and still fail on the wrong electrical system. Confirm whether your cart uses a 36V, 48V, or 72V battery pack before comparing screens. Check the cart’s manual, battery labels, or service records; the display on a charger is not enough to identify the system. Small detail. Big difference.
Count the batteries and inspect how they are connected, but do not rely on battery count alone. Different battery types have different nominal voltages, and a fully charged pack may read higher than its stated system voltage. If labels are missing or the wiring is unclear, ask a qualified technician to verify it. Guessing from age or appearance is unreliable.
Then check the screen’s specified input range, connector, and communication requirements. A screen designed for 48V may not accept a 72V supply, while some systems use a regulated converter that changes the voltage reaching the dashboard. Confirm what voltage the screen actually receives, not just the pack rating. I have seen buyers focus on screen size and overlook this step; it is an easy mistake to make. Keep the cart’s wiring diagram and battery details handy when ordering.
A touchscreen can look ready to install while its power needs remain unclear. Check the display label or installation sheet for its accepted input-voltage range. Do not assume every screen marked “12V” can connect directly to a golf cart battery pack. Pack voltage may exceed the display’s rating, even when the cart’s accessories use 12-volt power. A mismatch can damage the screen or cause unreliable operation.
Tip: Confirm the cart’s battery voltage, then choose a DC-DC converter that provides regulated 12V. Check its continuous current rating against the display’s stated draw, with some capacity left over for startup demand. Use a multimeter to measure converter output before connecting the screen, then check again while the display is running. Small detail. Check twice. A loose ground or undersized wire can create flickering that looks like a faulty display.
Keep the converter’s wiring short and secure, and use suitable circuit protection near the power source. Follow the cart and display instructions for connection points; wiring layouts vary. It is easy to overlook voltage drop across a long cable, especially after routing wires beneath a seat. Recheck connections after installation. If the reading changes under load, pause and troubleshoot rather than guessing. The neatest-looking installation is not always the safest one.
When comparing golf cart touchscreens, ask for measured brightness in nits, not just “sunlight-readable” wording. CIE Publication 15:2018 describes daylight conditions ranging from bright overcast skies to intense sunlight, where outdoor illuminance can approach 100,000 lux. A shaded cart and a sunlit dashboard are very different viewing environments.
Around 1,000 nits is a useful starting point for outdoor screens, but it is not a guarantee of clear viewing. IEC 62629-22-1:2016 specifies methods for measuring display optical characteristics; it does not set one universal brightness threshold for sunlight readability. Ask whether the quoted figure is sustained brightness across the whole screen or a brief peak. Check the display in direct sun, with polarized sunglasses, and at an angle from the driver’s seat.
Numbers can mislead. A glossy screen may reflect a pale sky like a mirror, even when its peak rating looks impressive. Compare anti-glare treatment, contrast, and automatic dimming alongside nits. If possible, view a live screen outdoors around midday. A quick glance in a showroom proves little. I would also check whether brightness drops after the screen warms up; that detail is easy to overlook, and specifications do not always make it clear.
When comparing golf cart touchscreen dashboards, read the IP code rather than relying on “weather-resistant” claims. Under IEC 60529, the first digit in IP65 means dust-tight: dust must not enter the enclosure during the specified test. The second digit, 5, indicates protection against water jets from a nozzle. It does not mean the screen can be submerged.
That distinction matters on a cart. A dashboard may face dusty paths, wet grass, and spray from a hose. IP65 can be a sensible target for those conditions, but it is not a promise against every failure. Check whether the rating applies to the complete installed unit, including its rear housing, cable entries, and connectors. A well-sealed screen can still be let down by a poorly protected connection.
Look closely at installation instructions. Ask how the unit should be mounted, whether its seal requires a specific surface, and how to clean the screen without forcing water into edges or ports. Avoid directing a pressure washer at the dashboard. The code describes controlled test conditions, not every angle, water pressure, or aging seal a cart may encounter. This is easy to overlook. Scratches, loose fasteners, and repeated servicing can also affect protection over time. A clear rating helps, but the installation details deserve a careful read.
Use these checks to compare touchscreen dashboards for golf carts. Practical benchmarks are selection guidance, not universal requirements; confirm suitability with the cart manufacturer and the display supplier.
| No. | Buyer Tip | What to Check | Useful Buyer Benchmark | Why It Matters |
|---|---|---|---|---|
| 1 | Read the complete IP rating | Look for an enclosure rating tested under IEC 60529, and check that it applies to the complete installed unit, including connectors and seals. | IP65: “6” means dust-tight; “5” means protection against water jets under the standard’s test conditions. IP65 does not mean immersion-proof. | Golf carts encounter dust, grass, and rain. A stated rating helps set realistic expectations, but installation and connector protection also matter. |
| 2 | Match the display to sunlight | Ask for the screen’s rated brightness in candelas per square metre (cd/m²) and, if available, a daylight-viewing demonstration. | Around 800 cd/m² or higher can be a useful starting point for bright outdoor conditions; actual readability also depends on reflections, contrast, and screen angle. | A screen that looks clear indoors may be difficult to read in direct sun. |
| 3 | Check viewing angles and glare | Evaluate the screen from the seated driver’s position, including the typical viewing angle and reflections from the sky or windshield. | Prefer a matte or anti-reflective surface and a viewing angle that keeps text legible from the driver’s normal seated position. | Good brightness alone cannot eliminate glare or poor visibility from an off-angle seat position. |
| 4 | Test touch operation | Try common actions such as tapping, swiping, and entering information. Check whether the screen supports gloves if they are part of normal use. | Confirm touch response with the intended gloves and screen protector; do not assume every capacitive screen works reliably through gloves. | Reliable interaction helps drivers avoid repeated taps and unnecessary distraction. |
| 5 | Verify power compatibility | Check the display’s input-voltage range, polarity, current draw, fuse requirements, and recommended converter or wiring arrangement. | Confirm compatibility with the cart’s actual electrical system. Do not connect a display directly to a traction-battery pack unless its specifications expressly allow it. | Golf-cart electrical systems vary. A suitable, correctly installed power supply helps prevent damage and unreliable operation. |
| 6 | Consider temperature limits | Review the manufacturer’s specified operating and storage temperature ranges, including any limits on charging or screen performance. | Choose a unit whose stated operating range covers the temperatures expected where the cart will be used and stored. | Heat and cold can affect display visibility, touch response, and electronic reliability. |
| 7 | Inspect mounting and vibration protection | Check the mounting method, dashboard cutout or bracket dimensions, cable strain relief, and whether the installation can be secured against cart vibration. | Confirm the unit fits the available dashboard space and that cables can be routed without sharp bends, pinching, or exposure to moving parts. | A secure installation reduces the risk of movement, loose connections, and damage during routine driving. |
| 8 | Review screen size and layout | Compare the stated diagonal screen size with the dashboard space, viewing distance, and the amount of information shown at once. | Check that key items such as speed, battery status, and navigation are easy to read without crowding the display or obstructing the driver’s view. | The largest screen is not always the most practical choice for a compact dashboard. |
| 9 | Confirm functions and connections | List the features needed, such as navigation, vehicle information, audio, or camera input, and verify the required interfaces and software compatibility. | Ask which functions work with the specific cart and which require extra sensors, adapters, subscriptions, or installation work. | Feature names alone do not guarantee compatibility with a particular cart or accessory setup. |
| 10 | Check service and installation support | Review the warranty, replacement process, installation instructions, software-update method, and availability of compatible spare parts. | Get the warranty terms and installation requirements in writing, and confirm how the unit can be serviced if it fails. | Clear support arrangements can reduce downtime and help protect the cart’s electrical system during installation. |
IP-code note: IEC 60529 classifies protection provided by enclosures. An IP rating describes performance under specified test conditions; it does not by itself guarantee protection from every weather condition, cleaning method, installation issue, or type of liquid exposure.
Before buying, photograph the cart’s battery label, fuse panel, and existing dash opening. Check the touchscreen’s input voltage, peak current, and standby draw against the cart manual and converter rating. Do not judge power needs by brightness alone; startup and connected accessories can increase demand. If the cart uses a 12-volt accessory converter, confirm spare capacity in amperes, not just battery voltage. A display that boots on the bench may reset when lights or a horn draw power. Measure twice. Use a fused, switched supply where the cart maker permits it. Ask a qualified technician if the wiring diagram is unclear.
Mounting matters as much as power. Measure the opening, steering-wheel sweep, seated eye line, and knee clearance. Check the screen’s depth behind the panel; cable plugs need room to bend without being crushed. Confirm its temperature, water, and vibration ratings suit the cart’s use. Keep controls reachable without blocking the key, cup holder, or view of the path. The National Golf Foundation’s 2024 Golf Industry Report counted 26.6 million U.S. on-course golfers in 2023. That is useful market context, not a compatibility test. Try tapping the screen with gloves on. Physical buttons can be easier to find over bumps, though they make the dash busier. One trade-off remains.
Check the manual, battery labels, or service records for 36V, 48V, or 72V. Don’t rely on the charger display alone.
Not by itself. Battery types differ, and a fully charged pack may read above its nominal voltage. Ask a qualified technician if labels or wiring are unclear.
Check its input range, connector, and communication requirements. Confirm the voltage reaching the screen, especially if a regulated converter is installed. Easy to miss.
Not necessarily. A screen designed for 48V may not accept a 72V supply. Compare its specifications with the voltage it actually receives.
The first digit indicates dust-tight protection. The second indicates resistance to water jets, not submersion. That distinction matters.
It can suit those conditions, but it does not guarantee protection from every failure. Check whether the rating covers the installed unit, including connectors and rear housing.
Follow the mounting instructions and check whether the seal needs a specific surface. Poorly protected cable entries can weaken an otherwise sealed screen.
Avoid directing a pressure washer at the dashboard. Use the cleaning guidance, since water pressure, worn seals, scratches, and loose fasteners can change protection over time. I’d double-check those details.
Choosing a Golf Cart Touchscreen Dashboard starts with understanding the cart’s electrical system. Identify whether it uses a 36V, 48V, or 72V battery setup, then confirm the screen’s accepted input voltage. If the display requires 12V power, check that the cart has a suitable DC-DC converter and that its output can support the screen reliably. These checks help prevent compatibility issues and avoid placing unnecessary strain on the electrical system.
For outdoor use, compare brightness ratings in nits to find a screen that remains readable in sunlight. Review the IEC 60529 IP code as well: an IP65 rating indicates dust-tight protection and resistance to water jets, though it does not mean the screen can be submerged. Finally, check power draw, mounting dimensions, and control compatibility against your cart’s specifications. A careful fit and practical feature match can make the dashboard easier to use and more dependable on the course.