A clear rear view can make a tight turn around a garage, clubhouse, or parked cart feel less uncertain. Golf carts sit low, and passengers, storage bags, and roof supports can hide nearby hazards. A Golf Cart Backup Camera adds a view of the space behind the vehicle, helping drivers judge distance while reversing. It is a useful aid, not a replacement for looking around.
There is relevant evidence, but an important limitation deserves attention. In a 2018 analysis, the Insurance Institute for Highway Safety (IIHS) reported that rearview cameras were associated with a 17% reduction in backing-crash rates for passenger vehicles. That figure should not be treated as a golf-cart-specific result. Golf carts differ in speed, size, design, and typical surroundings, so the study cannot establish the same benefit for every cart.
Small details matter. Camera placement, screen brightness, image clarity, and performance in shade can affect what a driver actually sees. A wide-angle image may show more of the path, but it can also make nearby objects appear farther away. That takes practice. This guide compares backup cameras for golf carts by focusing on practical viewing needs, installation considerations, and everyday usability. The best choice is not necessarily the one with the most features; it is the one that gives a dependable view when reversing slowly through a real, cluttered space.
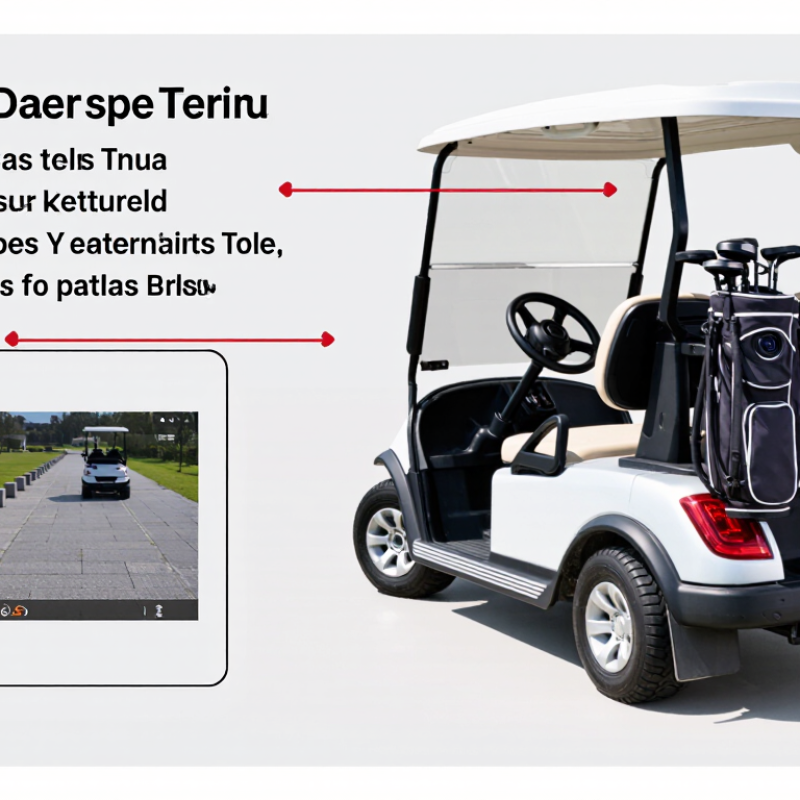
A golf cart backup camera is a small rear-facing camera connected to a screen near the driver. When the cart moves in reverse, the screen shows the area behind it. This view can reveal a low bench, a parked cart, or a person standing near the rear that mirrors may miss. On a narrow path, even a modest increase in visibility can make reversing feel less uncertain. Small details matter. A camera’s usefulness depends on its viewing angle, screen position, and image clarity in changing light.
The camera helps, but it does not show everything. A rear bumper, cargo, dirt, or rain on the lens can hide part of the view. Drivers should still check mirrors and look around before backing up, especially near pedestrians or tight turns. It is not magic, though. A quick test in an open area can help confirm what the screen includes and where its blind spots remain. Keep the lens clean, and adjust the display so it is easy to glance at without losing sight of the cart’s surroundings.
Golf cart backup cameras generally use either wired or wireless connections. A wired system offers a steady picture, but routing cable through a cart can take patience. Wireless models are often simpler to fit, though nearby electronics may occasionally interrupt the signal. Some setups place a small screen on the dash; others use a mirror-style display. A wide viewing angle helps reveal posts and parked carts, but can make distant objects look smaller. Small detail, big difference.
Look for a weather-resistant camera and a screen that stays readable in bright sunlight. Low-light support helps in shaded parking areas, while adjustable guide lines can make reversing toward a shed easier. Check that the camera’s image matches your cart’s rear layout; fixed guide lines may not suit every mounting height. A camera can still leave blind spots, especially near the cart’s corners.
Tips: Mount the camera near the cart’s centerline, then test the view from the driver’s seat. Ask someone to stand behind the cart while you check for hidden areas. Keep the lens clear of dust and water spots. I’d avoid relying on guide lines alone; they can be slightly off, and that’s easy to forget.
When comparing backup cameras for different golf carts, start with fit, not screen size. Check whether the camera can mount securely beneath the roof or on the rear body. A low mounting point may show more ground, but it can miss taller obstacles. Fit comes first.
Next, compare power and connection type. Cart electrical systems vary, so confirm the camera’s voltage requirements and whether a suitable converter is needed. Consult the cart manual or a qualified technician before connecting equipment. Wired systems avoid wireless signal dropouts, though installation can take longer. Wireless kits are simpler to route, but test them around buildings and parked carts. A brief delay matters.
Pay attention to the view from the driver’s seat. A wide image helps with nearby hazards, yet extreme wide angles can make distances look misleading. Check the display in bright sun and shade, and look for a clear image at dusk. Weather resistance matters too; inspect the rating and exposed connectors, not just the camera housing. Small detail, big difference. I would not choose by advertised range alone. Park the cart, check what the camera actually shows, and note any blind spots before relying on it.
Compare the system types below by installation, power, display, and intended use. Features vary by model, so check the camera’s specifications and your cart’s electrical system before buying.
| Camera system type | Connection and display | Power considerations | Installation and fit | Best suited for | What to check |
|---|---|---|---|---|---|
| Wireless camera with dedicated monitor | Sends video wirelessly to a separate dashboard or windshield-mounted monitor. | Camera and monitor both need power. Many systems use 12-volt power; confirm the required input voltage. | Avoids a long video cable between the rear and front of the cart, but still requires secure mounting and power wiring. | Carts where routing a video cable is difficult. | Wireless range, signal reliability, monitor visibility, and whether the system turns on automatically with the cart. |
| Wired camera with dedicated monitor | Carries video through a cable to a separate monitor. | Check the voltage requirements for both camera and monitor. A voltage converter may be needed if the cart’s electrical system does not match. | Requires routing and protecting a video cable along the cart; cable length must suit the cart’s layout. | Installations where a direct cable route is practical and a stable video connection is preferred. | Cable length, weather protection at connections, mounting position, and compatibility with the monitor’s video input. |
| Rearview-mirror monitor camera kit | Displays the rear image on a monitor integrated into or mounted over the rearview mirror. | Power and camera connections depend on the kit; verify the required voltage and wiring method. | Uses the mirror area for the display, which can keep the dashboard less crowded. Confirm mirror and windshield mounting compatibility. | Drivers who prefer to check the rear view near the usual mirror position. | Screen size, mirror attachment method, glare visibility, and whether the display is active continuously or only when reversing. |
| Phone-connected Wi-Fi camera | Streams video to a compatible smartphone app over a local wireless connection. | The camera needs power; the phone must be charged and mounted where it can be viewed safely. | Can avoid installing a dedicated monitor, but app setup and phone mounting are required. | Occasional use when a compatible phone is already available. | Phone and app compatibility, connection stability, startup time, and whether the image is suitable for frequent reversing. |
| Multi-camera system with monitor | Supports multiple camera views on one display; some systems show one view at a time or split the screen. | Each camera and the monitor require compatible power and connections. | Requires extra mounting locations and wiring or wireless links for each camera. | Carts that need rear and side views, such as carts carrying loads or operating in tight areas. | Number of supported cameras, view-selection method, screen layout, and the installation space available. |
Compatibility note: Golf carts may use different electrical-system voltages. Do not assume a camera can connect directly to the cart battery; check the camera’s input-voltage range and use a correctly rated converter when required. A backup camera helps with visibility but does not replace checking behind the cart before moving.
Mount the camera high on the rear body, centered above the bumper when the cart design allows. Before drilling, check the frame and wiring path; a misplaced hole is hard to undo. Disconnect the battery, then route the cable away from moving parts and sharp edges. Use a fused power connection suited to the cart’s voltage, and seal any new openings against rain and dust. Aim the lens slightly downward. Test the view from the driver’s seat, with a person standing behind the cart at several distances. NHTSA’s 2008 backover analysis estimated about 292 fatalities and 18,000 injuries annually in motor-vehicle backing incidents. Those figures do not describe golf carts specifically, but they underline why a clear rear view matters. A camera still cannot show every blind spot.
For the display, choose a dedicated dashboard screen, a mirror-mounted display, or a compatible existing monitor. A dedicated screen is easy to see, but it can crowd a small dash. Check brightness in direct sun and confirm that the image remains visible when the cart vibrates. Some systems activate automatically in reverse; others need a manual switch. Keep the cable connections dry and secure, then test the setup on level ground before regular use. Small details matter. I once assumed a wide-angle view would make distance obvious; it did not. Use the camera alongside mirrors, and judge spacing slowly.
A backup camera helps reveal low obstacles, but it cannot show every angle. Keep mirrors in use, turn your head, and check the path before reversing. NHTSA’s 2014 rear-visibility rulemaking cited an estimate of 210 fatalities and 15,000 injuries annually from backover crashes. Those figures concern motor vehicles overall, not golf carts, but they underline why a screen should support—not replace—careful observation.
Before each ride, switch on the camera while parked and check that the image is steady and clear. Look for loose mounts, cracked housings, or exposed wiring. Wipe the lens with a soft, damp cloth; grit can scratch it. After rain or a wash, inspect the connector and seals for moisture. Small details matter.
Trust the picture, but question it. A wide-angle view can make a nearby post look farther away, and glare may hide a child or a low curb. I’d be tempted to rely on the display when moving slowly; that habit still deserves a second thought. Stop, look around, and reverse at walking pace. If the image flickers or goes dark, don’t guess—park safely and inspect the system before relying on it again.
Wired systems usually provide a steady picture, but cables can take patience to route. Wireless kits are easier to fit, though nearby electronics may interrupt the signal.
Try mounting it near the cart’s centerline, beneath the roof or on the rear body. Check the view from the driver’s seat. Fit comes first.
Confirm the camera’s voltage requirements and whether a converter is needed. Cart electrical systems vary, so consult the manual or a qualified technician.
A wide view can reveal posts and parked carts nearby. However, distant objects may look smaller, making their distance harder to judge.
Ask someone to stand behind the parked cart while you inspect the screen. Check the corners, too. Blind spots remain possible.
Adjustable lines can help when reversing toward a shed, but fixed lines may not match your mounting height. I’d treat them as a rough aid, not a promise.
Look for a readable screen in bright sun, low-light support for shaded areas, and weather resistance. Inspect exposed connectors, not just the camera housing.
Park near buildings and other carts, then check the picture in sunlight, shade, and at dusk. Note any blind spots or brief delays. Don’t rely on advertised range alone.
A Golf Cart Backup Camera helps drivers see what is behind the cart, making reversing and maneuvering in tight spaces easier. Camera options may differ in viewing angle, image clarity, night visibility, weather resistance, and whether they use a wired or wireless connection. Some systems show the rear view on a dedicated screen, while others use a compact display suited to the cart’s layout.
When comparing cameras, consider the cart’s design, how and where the camera will be mounted, and which display option is easiest to see while driving. Installation typically involves securing the camera, connecting its power and signal components, and positioning the display for a clear view. After installation, test the image and adjust the camera angle before use. Keep the lens clean, check connections periodically, and continue to look around while reversing so the camera supports—not replaces—careful driving.